The red light on a grow light is a dedicated photosynthesis and flowering channel, not a power indicator or a warning sign. Those red LEDs (typically peaking around 620–660 nm) are there because red wavelengths drive two of the most critical plant processes you care about: photosynthesis efficiency and phytochrome-controlled development, which is the internal signaling system that tells your plant when to flower, stretch, or stay compact. If you've been staring at a glowing red panel wondering whether it's actually doing anything, the short answer is yes, it's doing a lot, and getting it right or wrong will have a very visible effect on your plants.
What Is the Red Light For on a Grow Light?
Marcus Tillman
24 Mar 2026
What the red channel on a grow light actually is
Most modern LED grow lights group their diodes into channels, and red is almost always its own channel separate from white, blue, or far-red. The relevant wavelength range is roughly 620–660 nm, with 660 nm being the peak most manufacturers target because it sits right at the absorption peak for chlorophyll A and is also the wavelength that activates phytochrome Pfr, the active form of a photoreceptor that controls flowering and developmental responses in plants.
On a channelized light like the Dimlux Xtreme series or lights using the M4-style controller, white and red LEDs sit on completely separate circuits with independent dimmers, meaning you can run red at 80% and white at 50%, or vice versa. That's a real optical output channel, not a label. On simpler lights, you might see a single rocker switch or a separate dial labeled 'Bloom,' 'Flower,' or 'Red' that activates a separate bank of red diodes. Either way, what matters is whether red is independently controllable and what wavelength it outputs.
Here's the thing that trips a lot of people up: some grow lights also have a small indicator LED (usually on the driver housing or the controller box) that blinks or glows red to show power status, network connectivity, or error codes. That indicator LED is NOT a plant light. It produces no meaningful photons for your plants. GrowFlux dimmers, for example, blink red during network setup or connection attempts, which has nothing to do with your light output settings. If you see a tiny blinking red dot on your controller, check your manual's status LED section, not your dimmer settings.
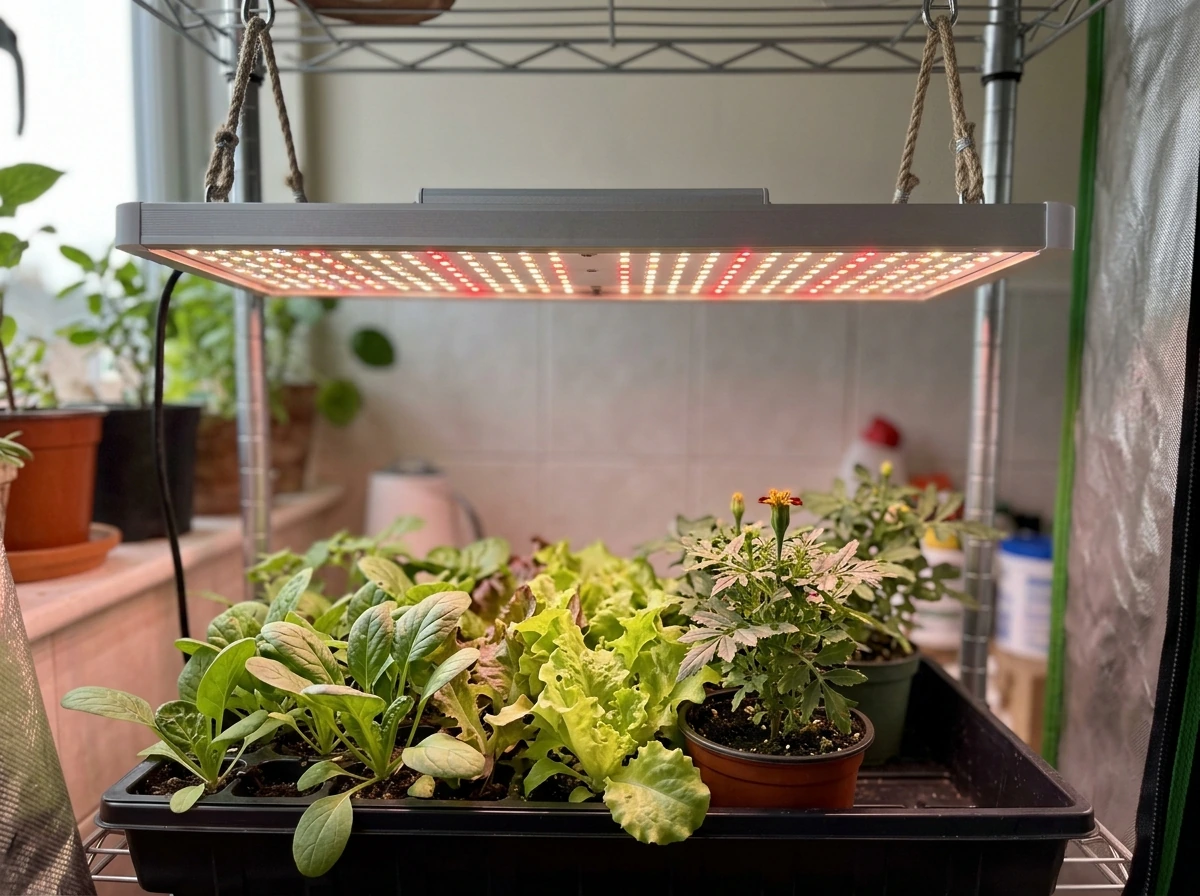
How red light actually affects your plants
Red light at 660 nm does two distinct jobs. The first is photosynthesis: red photons are highly efficient at driving the light reactions in chloroplasts, making them one of the most effective wavelengths for raw biomass production. The second job is developmental signaling via phytochromes. When red light hits a plant, it converts the phytochrome molecule from its inactive Pr form into the active Pfr form. The ratio of Pfr to total phytochrome (called phytochrome photoequilibrium) is essentially a daylight signal your plant uses to time flowering, germination, and shade-avoidance responses.
Red light during vegetative growth
During vegetative growth, red light strongly promotes stem elongation and leaf expansion. This sounds good until it isn't. Research on lettuce seedlings showed that red LEDs as the sole light source caused significantly extended hypocotyls and elongated cotyledons, basically spindly, stretched-out plants. Tomato seedlings under red LED alone had measurably longer stems than those under blue or mixed light. The mechanism is partly hormonal: red light influences gibberellin metabolism, and without enough blue light to counteract it, plants can grow tall and weak rather than compact and bushy. So during the vegetative stage, red is useful and necessary, but it needs to be balanced with blue.
Red light during flowering and fruiting
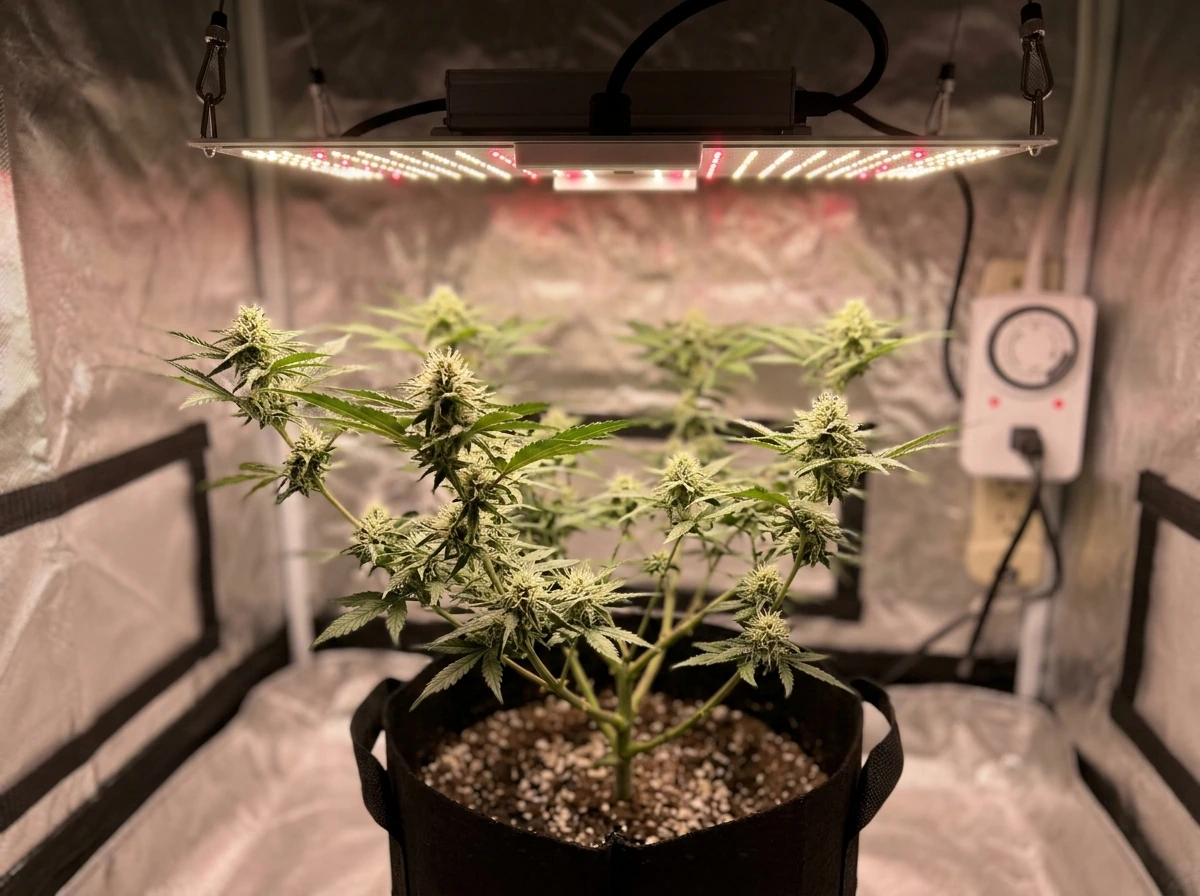
This is where red really earns its place. Flowering in photoperiod-sensitive plants is regulated by phytochrome Pfr levels, which are driven by red light around 660 nm. Once the Pfr concentration crosses a threshold, it triggers developmental changes that initiate flower formation. Cannabis studies have shown that flower development measurably differs based on whether the red channel peaks at 660 nm versus a different red configuration. For fruiting crops like tomatoes and peppers, flowering initiation is the bottleneck, and having enough red output at the right time can mean the difference between a plant that sets fruit on schedule and one that keeps growing vegetative growth indefinitely.
Red vs blue vs white: how they compare and how to balance them

| Feature | Red (~620–660 nm) | Blue (~400–500 nm) | White (broad spectrum) |
|---|---|---|---|
| Primary role | Photosynthesis + flowering trigger | Compact growth + stomatal opening | Full-spectrum baseline for all stages |
| Effect on stem length | Promotes elongation | Reduces elongation | Neutral to moderate |
| Flowering effect | Strong promoter via phytochrome Pfr | Minimal direct effect | Moderate, varies by diode mix |
| Best stage | Flowering/fruiting; supplement in veg | Seedlings; vegetative growth | All stages as primary base |
| Risk if overused | Leggy, stretched plants | Reduced leaf area, slow growth | Usually safe; depends on PPFD |
| Typical PPFD target (flowering) | Part of 400–1,200 µmol/m²/s total | Part of 400–1,200 µmol/m²/s total | 400–1,200 µmol/m²/s total |
The practical balance most growers aim for during vegetative growth is a higher blue-to-red ratio, roughly 1:3 to 1:4 blue to red by output, depending on the light. During flowering and fruiting, you shift toward more red, often bumping the red channel up while keeping white as the base. Pure red without any blue is generally a mistake at any stage, as the blue photons are what prevent excessive stretch and keep stomata responsive.
If your light has a single full-spectrum mode with no separate channels, you're probably fine using it as-is for most plants. The concern about red-to-blue balance is most relevant when you have independent channel control and can actually change the ratio. If all you have is an on/off switch, set it and forget it.
How to schedule red light by growth stage and plant type
Scheduling is where most people either get this right or waste weeks of growth. The number of hours matters, but so does the intensity and the channel mix you're running during those hours.
Seedlings
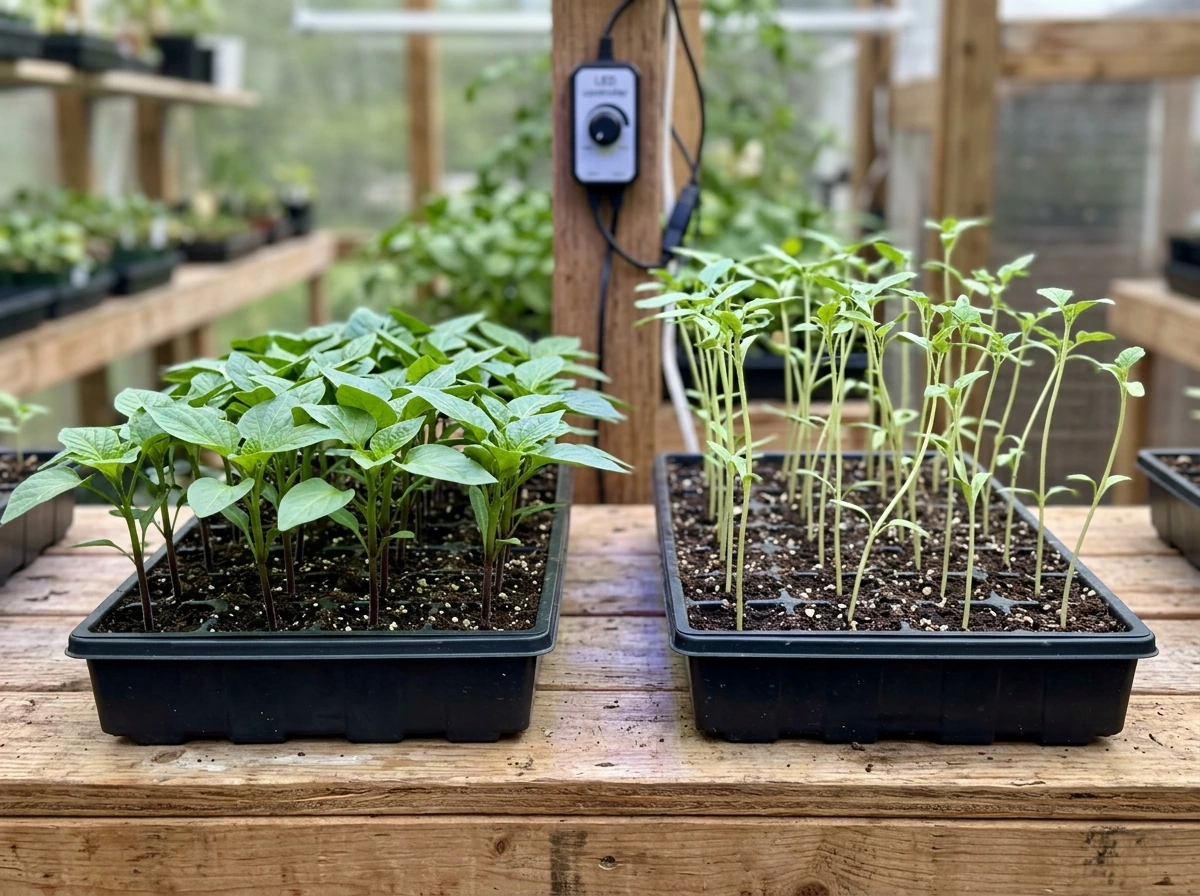
s per day, and keep red at a moderate level relative to blue. If you have independent channels, run blue at full or near-full and keep red at 50–70% of its maximum. Seedlings are most vulnerable to elongation caused by excess red and insufficient blue, so this is the stage where you really want blue to dominate. Place the light 12–18 inches above the tray as a starting point, and watch for stretching. If seedlings are reaching toward the light or growing spindly stems in the first week, increase blue intensity before you change anything else. PPFD targets for seedlings are on the lower end, around 100–250 µmol/m²/s.
Vegetative growth
During active vegetative growth, run the light 16–18 hours per day for most plants. You can increase the red channel now compared to seedling stage, but keep white or blue as your dominant channel. A red dimmer setting of 60–80% alongside a white channel at 80–100% works well for most herbs, leafy greens, and vegetable starts. Target PPFD in the range of 200–600 µmol/m²/s depending on the plant. Herbs like basil are comfortable at the lower end of that range; tomato and pepper starts can push toward 400–600.
Flowering and fruiting
When you're ready to push flowering, two things happen: you often shorten the photoperiod (for short-day plants like cannabis, you drop to 12 hours; long-day plants actually need longer light periods) and you dial up the red channel. For a typical flowering or fruiting plant on a 12/12 schedule, [run red at 80–100% of its maximum](/grow-light-schedules/when-should-i-turn-my-grow-light-to-100-percent) and keep white at 70–80%. PPFD targets for flowering and fruiting plants are 400–1,200 µmol/m²/s depending on the species. Tomatoes and peppers want to be at the higher end; most flowers and cannabis cultivars do well in the 600–900 range.
Houseplants and herbs
For general houseplants and herbs that you're not trying to push into flowering, 12–16 hours per day at a moderate red level works well. Herbs like basil, mint, and parsley operate best at PPFD around 100–500 µmol/m²/s with a balanced red/white mix. You don't need to over-engineer this for foliage houseplants; a good full-spectrum LED with red included running 12–14 hours per day at the right distance is usually enough. The people who get into trouble with houseplants are usually those who crank red to maximum on every setting, which can cause stretching in light-sensitive plants.
Quick schedule reference by stage
| Stage / Plant Type | Hours per Day | Red Channel Setting | Target PPFD |
|---|---|---|---|
| Seedlings | 14–16 hours | 50–70% (less red, more blue) | 100–250 µmol/m²/s |
| Vegetative growth | 16–18 hours | 60–80% | 200–600 µmol/m²/s |
| Flowering / fruiting | 12 hours (short-day) or 18 hours (long-day) | 80–100% | 400–1,200 µmol/m²/s |
| Houseplants (foliage) | 12–14 hours | 50–70% | 100–300 µmol/m²/s |
| Herbs | 12–16 hours | 60–80% | 100–500 µmol/m²/s |
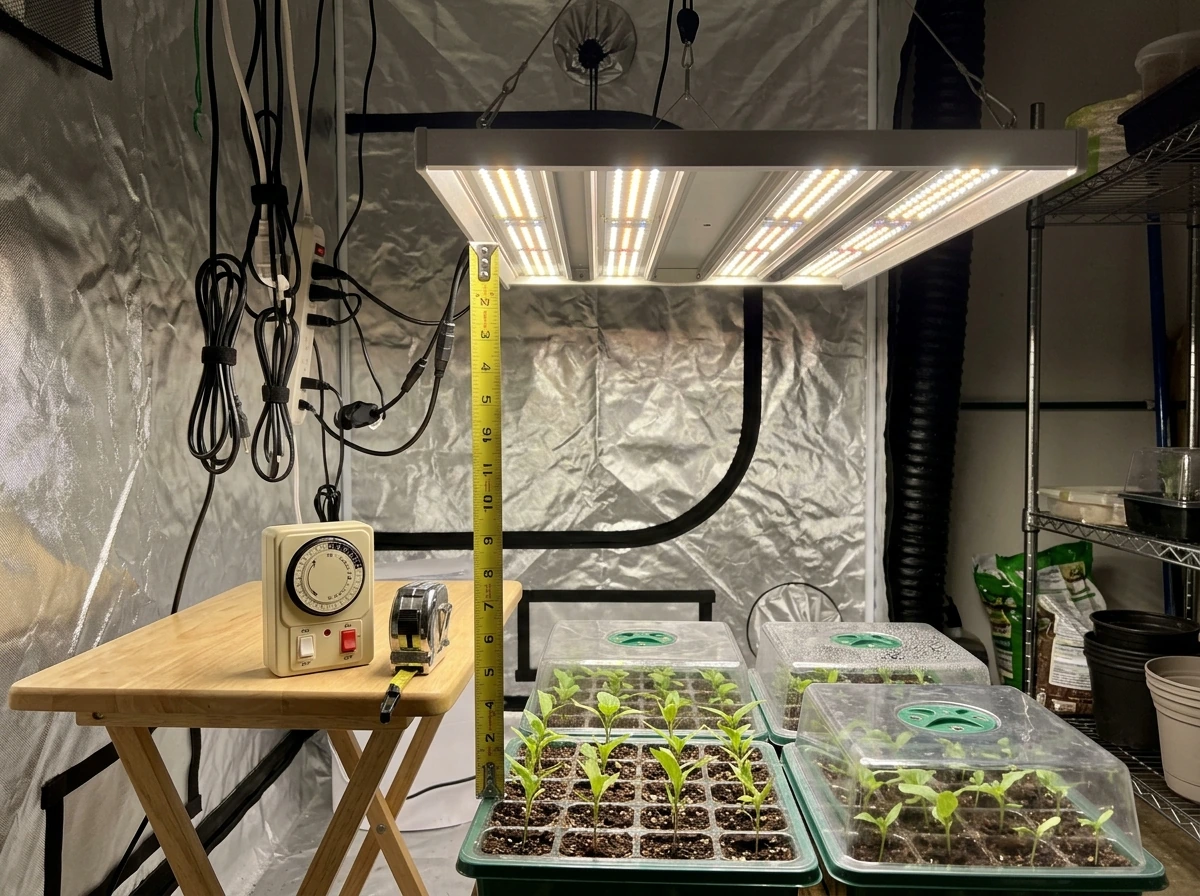
Light placement and intensity: how to avoid red-related stress
Distance from the canopy is one of the most controllable variables you have, and it directly affects how much total light (and therefore how much red light) your plants receive. The same light running at the same settings will have very different effects at 12 inches versus 24 inches above the canopy. A grow light bar tested by UNH Extension required about 8 hours per day at one mounting height to meet daily light integral (DLI) targets, but needed 16 hours per day when mounted higher because the photon density dropped with distance. This means if you're having issues with either too much or too little effective red, adjusting height is often faster and safer than changing dimmer settings.
As a starting framework: for seedlings, hang the light 18–24 inches above the tray and work down from there if growth looks slow. For flowering/fruiting plants at full power, 12–18 inches is typical for most LED grow lights, but check your manufacturer's recommendations because high-output lights can cause light burn at under 12 inches even with a good spectrum. For lower-light houseplants and herbs, 18–30 inches gives you a gentler intensity that's more forgiving.
When adjusting intensity via dimmers, make changes gradually, especially with the red channel. Jumping from 40% to 100% red overnight can stress plants that have adapted to a lower intensity. Move in 10–15% increments over several days, and watch for bleaching, curling, or unusual color changes in the newest leaves. Those are your early warning signals.
Troubleshooting: what bad red channel settings look like
If your plants are giving you problems and you're not sure whether the red channel is involved, here's a straightforward way to diagnose it. Each symptom maps pretty directly to a specific misconfiguration.
Leggy, stretched growth
This is the most common red-channel problem. Long, weak stems and wide spacing between nodes usually mean too much red relative to blue, especially during seedling or early vegetative stages. The fix: increase your blue channel output, reduce red to 50–60% of maximum, and make sure you're running at least 14 hours per day so total photon delivery doesn't drop. If you don't have a separate blue channel, try moving the light 2–4 inches closer to increase total intensity before you start adjusting other settings.
Delayed or no flowering
If a flowering plant isn't transitioning after 2–3 weeks on a bloom schedule, first check that you've actually changed the photoperiod correctly (short-day plants need an uninterrupted 12-hour dark period). If the photoperiod is right, check your red channel: if it's running low or at 50% or below, increase it to 80–100%. The phytochrome Pfr response needs enough red photon delivery to cross the threshold for flowering induction. Also check that no stray light is interrupting the dark period, because even a brief exposure to red light during darkness can reset the phytochrome cycle.
Yellowing leaves
Yellowing can happen for a dozen reasons, but if it's appearing on upper leaves that are close to the light, light intensity is the first thing to check. Red-heavy spectra at high intensity and close range can cause photobleaching in sensitive plants. Move the light up by 4–6 inches, reduce red intensity to 60–70%, and wait 5–7 days to see if new growth comes in green. If the yellowing is starting on lower or older leaves, that's more likely a nutrient issue than a light quality issue.
Slow overall growth
If everything looks healthy but growth is just sluggish, the issue is usually insufficient total light rather than spectrum imbalance. Check your DLI: for most vegetable and herb crops, you want 12–20 mol/m²/day. If you're running 12 hours at low intensity, you may simply not be hitting that target. Increase hours before you crank intensity, as longer photoperiod is gentler on most plants than sudden high-intensity exposure.
Uneven growth across the canopy
Plants closer to the center of the light get more red photons than plants at the edges, and if your red channel is very intense, plants in the hot spot may flower earlier or grow differently than the outer plants. This is a placement problem more than a spectrum problem. Add a second light, rotate plants every few days, or use a larger/higher-mounted light to even out the footprint.
How to figure out what your specific grow light is actually doing
Not every grow light handles the red channel the same way, and one of the most useful things you can do is spend 10 minutes confirming exactly what your light is doing before you start adjusting settings. Here's how to check.
Find the wavelength spec
Look at the product listing, box label, or manual for wavelength information. You want to see something like '660 nm' or '620–660 nm' listed for the red channel. That tells you the red LEDs are actual photosynthesis-wavelength emitters. If you see a red described only as a status indicator in the wiring or LED legend section of the manual (without a nanometer measurement), it's not a plant light. GrowFlux manuals, for example, specifically document their status LED colors and blinking patterns separately from the light output configuration.
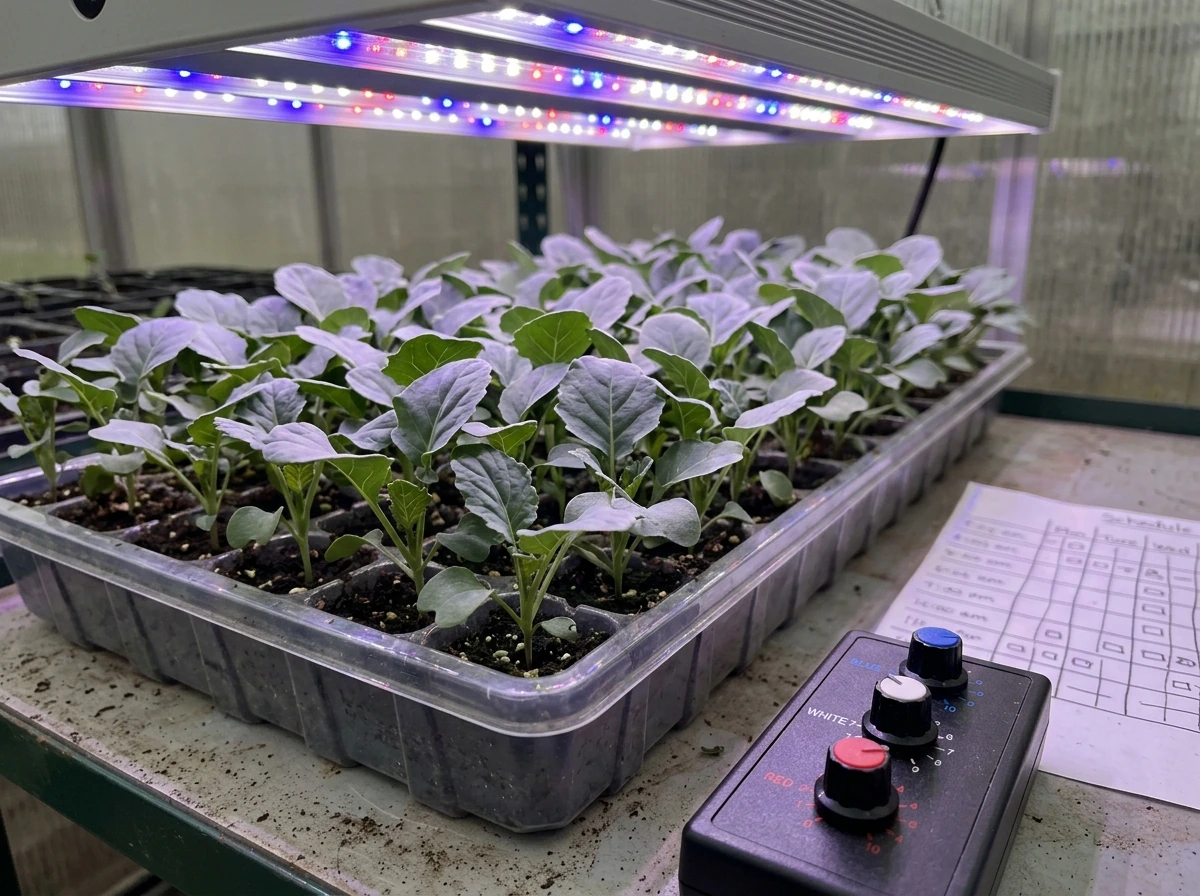
Check for independent channel control
Look for terms like 'red dimmer,' 'bloom channel,' 'RGBW: RED,' or 'CH1/CH2' in your manual or controller label. The M4 controller, for instance, explicitly labels separate dimmers for red and blue. Mars Hydro's multi-channel lights use RJ11 port mappings with distinct dimmer assignments. If your manual shows a named dimmer that outputs to a specific diode bank with a wavelength, that's a real optical channel you can tune. If all you have is one overall dimmer knob, you're adjusting the whole spectrum proportionally and there's no separate red control to worry about.
Identify whether your light has preset modes
Some lights don't expose individual channel dimmers to the user but instead offer preset modes like 'Veg,' 'Bloom,' or 'Full Spectrum.' In most cases, the Bloom or Flower mode is activating a higher red channel output. Check your manual to see what each mode actually does. If it says 'Bloom mode activates the 660 nm deep red channel at full power,' that tells you what you need to know. If it just says 'Bloom mode' with no further detail, you're working a bit blind, but you can assume the bloom setting is the right one for flowering plants.
Test the red LEDs visually
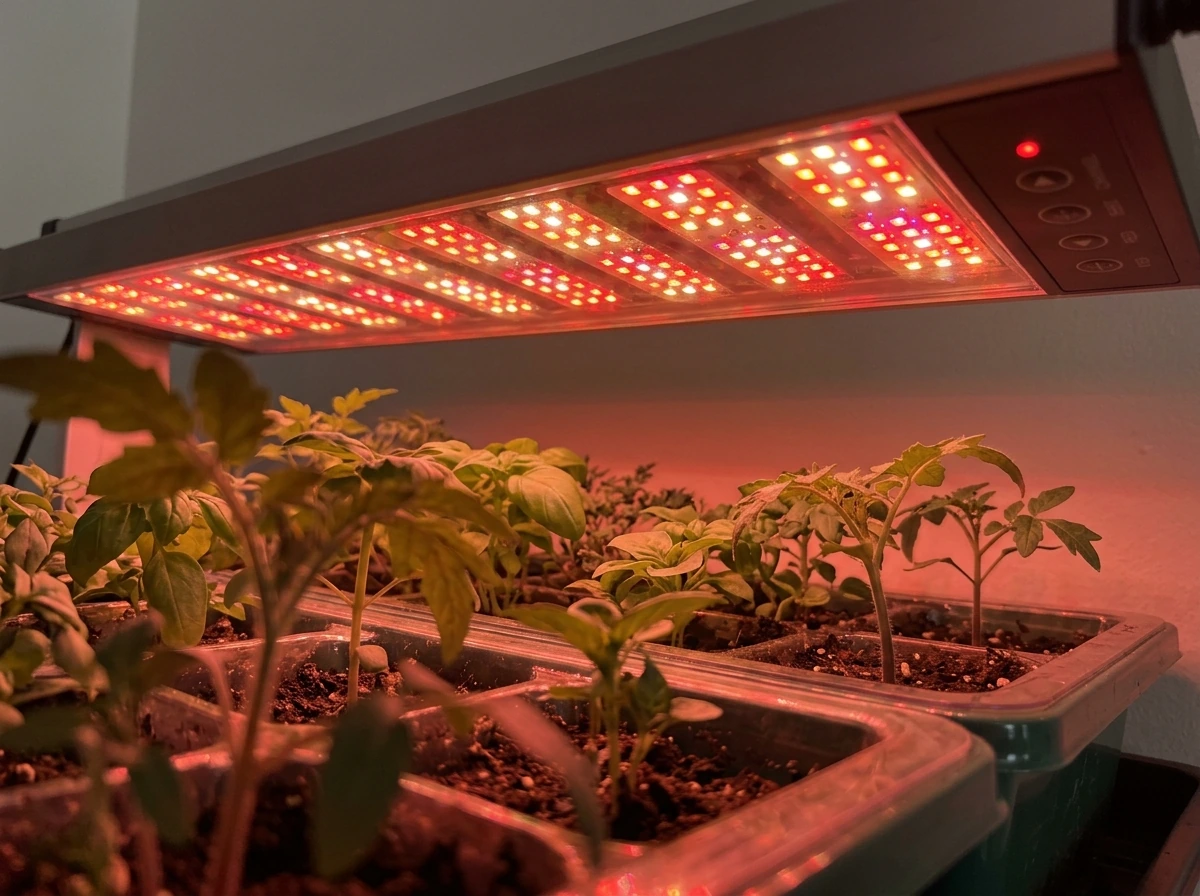
With the light on and red channel active, you should see a visible reddish-orange to red glow from the diodes (don't stare directly into the light). If the red channel is on but you see nothing glowing red, either the channel is non-functional or it's outputting in the deep red or near-infrared range above 700 nm, which is hard to see with the naked eye. Some lights include a separate far-red (720–740 nm) channel that's nearly invisible but still photobiologically active. Check the spec sheet for 'deep red' or 'far red' designations to clarify.
If you're still uncertain after checking the manual and specs, search your light's model name plus 'spectrum data' or 'channel configuration.' Most reputable manufacturers publish a spectral output graph that will clearly show you the red peak wavelength and relative intensity by channel. This is the most definitive way to verify what your light is actually producing.
Quick setup checklist before you start growing
- Confirm your red LEDs output 620–660 nm by checking the label, manual, or product spec sheet.
- Determine whether red is independently controllable (separate dimmer or mode switch) or fixed as part of a full-spectrum output.
- Identify whether any red indicators on your controller or driver are status LEDs (documented in the manual's LED legend) rather than plant-output LEDs.
- Set your photoperiod timer based on plant type: 14–16 hours for seedlings and veg, 12 hours for short-day flowering plants.
- Start with red at 60–70% during seedling and vegetative stages; increase to 80–100% when transitioning to flowering.
- Set initial mounting height at 18–24 inches for seedlings, 12–18 inches for flowering/fruiting plants, and adjust based on plant response.
- Watch for leggy growth (increase blue, reduce red) or delayed flowering (increase red, verify dark period is uninterrupted) in the first 1–2 weeks.
- Use PPFD targets as your guide: 100–250 µmol/m²/s for seedlings, 200–600 for veg, and 400–1,200 for flowering/fruiting.
Once you have the red channel dialed in for your specific plant and stage, it mostly runs itself. The biggest ongoing task is watching your plants and making small adjustments rather than large dramatic changes. Red light is one of the most powerful tools in a grow light, but it works best when it's part of a balanced setup rather than the star of the show. If you're setting up lights for specific plant types like houseplants or seedlings, the guides on how to use grow lights for houseplants and [how to use grow lights for seedlings](/grow-light-schedules/how-to-use-grow-light-for-seedlings) on this site go deeper into placement and timing for those specific use cases.
FAQ
How can I tell if the red light I see is a plant light output or just a status indicator?
It depends on whether the red light is an LED for plants or a status indicator. If the manual lists it under “status,” “power,” “network,” or “error,” it is not meant to contribute to growth. To confirm, look for a red channel wavelength spec (for example 620 to 660 nm). If there is no nanometer range for the “red” in the user-facing controls, assume it is not a plant-light output.
Should I keep the red channel at 100% all the time, or can I lower it?
If a red channel is separately dimmable, you can run it lower than full during the day without losing your ability to flower later, as long as you increase red appropriately during the flowering phase. The key is reaching enough red photons during flowering to cross the phytochrome threshold, not keeping red maxed all the time.
What should I do if my plants are stretching or getting spindly growth, and I suspect the red channel is the cause?
Too much red without enough blue often shows up as stretching with weaker structure, especially early on. The practical fix is stage-based balancing: reduce red to roughly mid-range and raise blue, then observe new growth for 5 to 7 days. If you only have one dimmer and no blue control, moving the light closer usually changes total intensity more safely than forcing the whole spectrum harder.
Can too much red light come from running it too many hours, not just too high intensity?
Yes, you can overdo the schedule even with “the right” spectrum. If intensity is high, long photoperiods can stress plants, leading to bleaching, leaf curl, or heat-related wilting. A safer approach is to hold your red/blue mix steady and adjust one variable at a time, usually starting with hours, then distance, then dimmers.
If the red diodes look dim or very bright, does that reliably tell me whether the wavelength output is correct?
Use your plant response rather than the red LED color on the housing. A red channel can appear dim while still delivering strong deep-red photons, and a bright visible red glow does not automatically mean the wavelength is correct. The most reliable check is the spec for red peak (often around 660 nm) and whether the controller labels a dedicated “red” output channel.
How should red be adjusted for seedlings compared to vegetative growth?
For seedlings and cuttings, you generally want blue to dominate to prevent elongation, so keep red moderate and increase blue first. If you see early stretch, do not immediately crank red down only, instead raise blue (or move the light closer if you cannot separate channels) and keep photoperiod reasonable for the stage.
How strict do I need to be about the dark period when flowering with red light?
Photoperiod interruption matters more than you might expect. For short-day plants, even a brief exposure to light during the dark period can disrupt flowering timing. If your red channel is on a timer separate from a full-spectrum or supplemental light, make sure none of them leak light into the dark period.
Can red light cause different flowering or growth timing within the same plant row?
Yes, planting position matters. The center typically receives more total photons and, with red-heavy setups, the hottest spot can respond earlier (flowering timing and morphology) than the edges. If your light footprint is uneven, rotate plants regularly, or spread the canopy with a second light or a higher mounting height to even out the red distribution.
Are “Veg” and “Bloom” modes always the same thing across grow lights?
If the controller has “Bloom,” “Flower,” “Veg,” or similar presets, those presets can map to different mixes of red, white, and sometimes far-red. Treat the preset as a spectrum configuration, not a guarantee of correct wavelengths. If the manual does not specify what the preset changes, verify by reading the channel descriptions or spectral data for your exact model.
If I’m seeing bleaching near the light, is it usually the red light, the intensity, or both?
Light burn from close mounting is mostly about intensity and heat stress, not red specifically. Still, red-heavy configurations can make bleaching show up faster on sensitive leaves. If leaves bleach or taco, raise the light by a few inches, reduce the red channel first if you can, and keep changes gradual so the plant can re-adapt.
What if my grow light’s red channel is not centered around 660 nm?
If you cannot reach a specific red wavelength like 660 nm because your light has a different red configuration, flowering may still work, but you may need to lean more on correct timing (photoperiod) and adequate intensity. The operational step is to adjust red output during flowering and confirm results by checking whether flower transition actually starts within your expected window.
What’s the fastest way to confirm my specific grow light really has a usable red channel?
A quick verification step is to read the model’s documentation for a “red” channel wavelength or a “deep red” or “far red” designation. Then with power on, you should see a distinct red glow from the diodes when the red channel is enabled, unless it is deep red or far-red that is hard to see. If the documentation only describes status colors, do not treat it as a growth channel.
Next Article
Where to Buy Grow Lights Schedule 1: LED Options + Checklist
Where to buy LED grow lights for Schedule 1 with a checklist to verify specs, retailers, and set up timing correctly